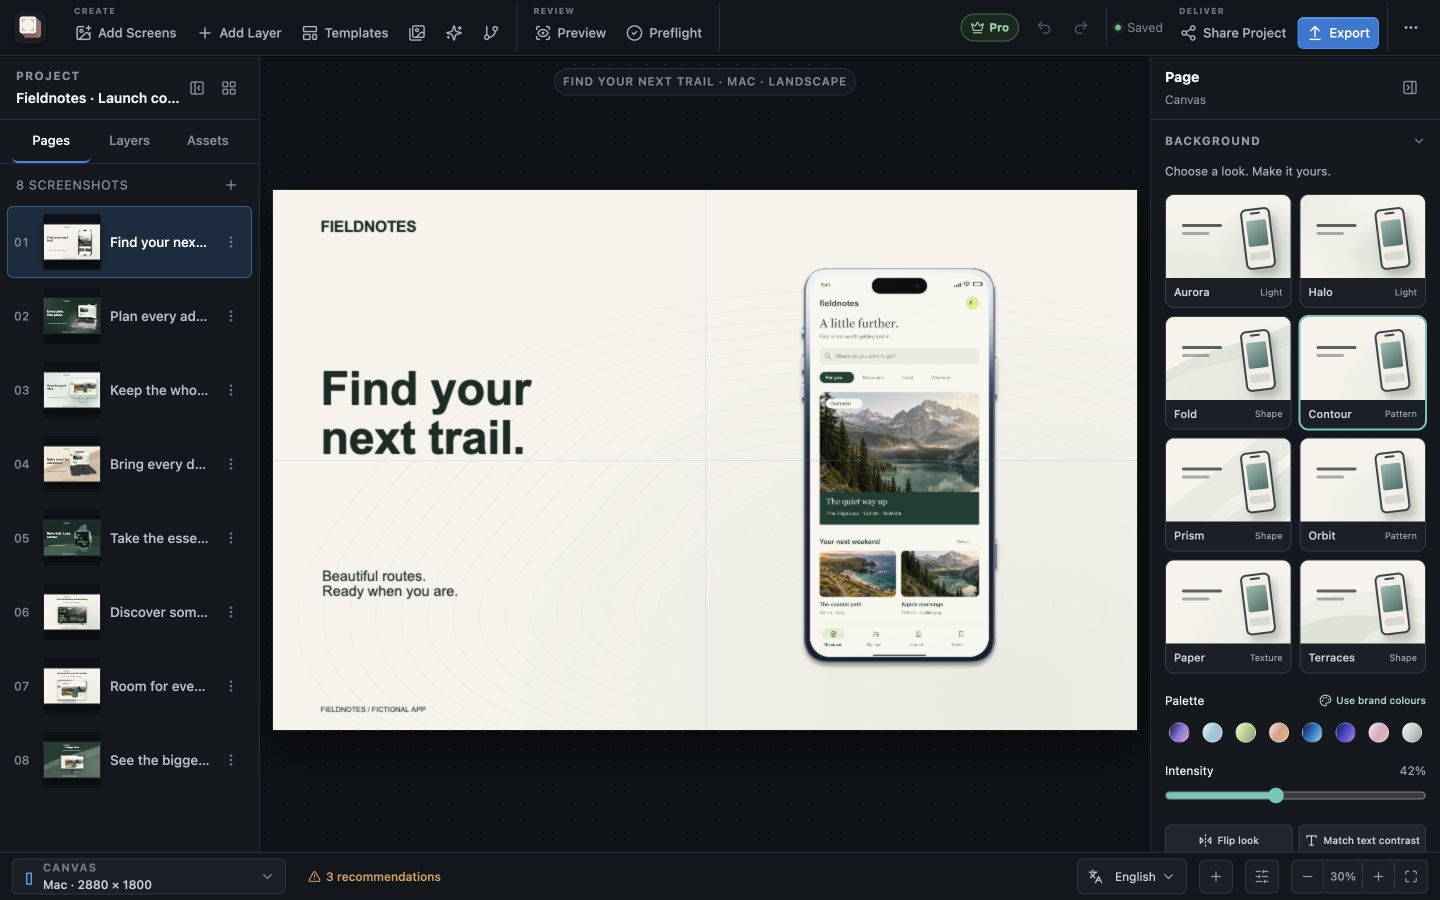
Capability overview
How can I use real layer editing in Screen Studio Kit?
Arrange app captures, headlines, shapes and device frames on one canvas. Change their size, position and order, group related elements, and undo edits as you refine the design.
Build a screenshot gallery that shows buyers what your app does. Place screenshots in device frames, write clear headlines, and adjust the composition for each output size. Start with three free templates or unlock all 26 with Pro.
Layer types
Every part of the screenshot is its own layer
A page holds a background plus layers for app screenshots, images or logos, text, shapes, device frames, feature callouts, stickers, widgets and groups. Because each element stays separate, you can rewrite the headline without touching the capture, or swap the capture without redrawing the frame around it.
The toolbar has two menus for adding content. Add screens imports PNG, JPEG or WebP captures, captures from a device, or adds a blank screen. Add Layer creates text, an image or logo, a device frame, a shape or a feature callout, and opens the Stickers & widgets library.
Shape layers take a fill colour and a Radius, which makes them useful as panels behind text or as simple dividers. A screenshot placed without a device frame can Fill or Fit its box and get rounded corners from the same Radius control.
Layer list
Manage stacking, names and visibility
The page sidebar lists the layers in stacking order. Drag a row to change the order, double-click its name to rename it, and use the eye and lock icons to hide a layer or protect it from accidental moves. Hidden layers are left out of the exported image.
Clear names such as Hero headline or Settings capture pay off later. The Localization table and Preflight messages both refer to layers by name, so a descriptive name tells you immediately which element needs attention.
Arrange precisely
Position, align and group layers
Layout & sizing in the inspector shows X, Y, W, H, Rotate and Opacity for the selected layer. The alignment buttons align a single layer to the page's safe area, or line several selected layers up by their left, center, right, top, middle or bottom edges. Three or more layers can also be distributed horizontally or vertically.
Group layers that belong together, such as a device and its callout, with Cmd/Ctrl+G, and ungroup them with Shift+Cmd/Ctrl+G. Bring forward and Send backward are in the inspector's Layer order section. The View menu turns on Snapping, Rulers and Safe areas, and pressing F gives the canvas the full window.
Undo and snapshots
Try ideas without losing earlier work
Every edit goes into the undo history, and a slider drag such as background intensity or 3D rotation is recorded as one step. Use Cmd/Ctrl+Z to undo and Shift+Cmd/Ctrl+Z to redo. Cmd/Ctrl+D duplicates the selection, and the arrow keys nudge it, with Shift for a larger step.
Projects save locally as you work, and recovery snapshots help after an interrupted session. Before a larger change, Release versions in Project settings can snapshot all editable pages and translations so you can restore that state later.
All layer types and editing tools on this page are included in Free. Pro adds the full template and element libraries, localization, batch export and store publishing; it does not change how layers are edited.
In the workflow
How to use it
Import the capture
Use Add screens to bring in a PNG, JPEG or WebP screenshot, or add one from the Assets panel.
Add the supporting layers
Add a headline, a device frame and any shapes, callouts or widgets the page needs.
Name and group
Rename layers so you can find them later and group the ones that should move together.
Align and check
Align to the safe area, turn on Snapping or Rulers for fine placement, and hide anything that does not belong in the export.
Useful in practice
When to use it
Related manual
Create your first screenshot project
Set up target stores, organize assets, create pages, and build a reusable composition that survives the next release.
Read the guideDirect answers
Questions about real layer editing.
Do hidden layers appear in the exported image?
No. A layer hidden with the eye icon is left out of preview and export. Hiding a group hides its contents as well.
Can I align a single layer to the page?
Yes. With one layer selected, the alignment buttons align it to the page's safe area. With several layers selected, they align to each other.
How do I get back to an earlier state of the project?
Use undo for recent edits. For a whole-project checkpoint, create a snapshot under Release versions in Project settings and restore it when needed.
Is layer editing limited in Free?
No. Layers, groups, alignment, undo and snapshots all work in Free. Free limits the number of export sizes, languages and daily images, and some template and element library items.